Objects#


The objects of the environment are divided into three groups: Geom, FreeGeom, Mocap.
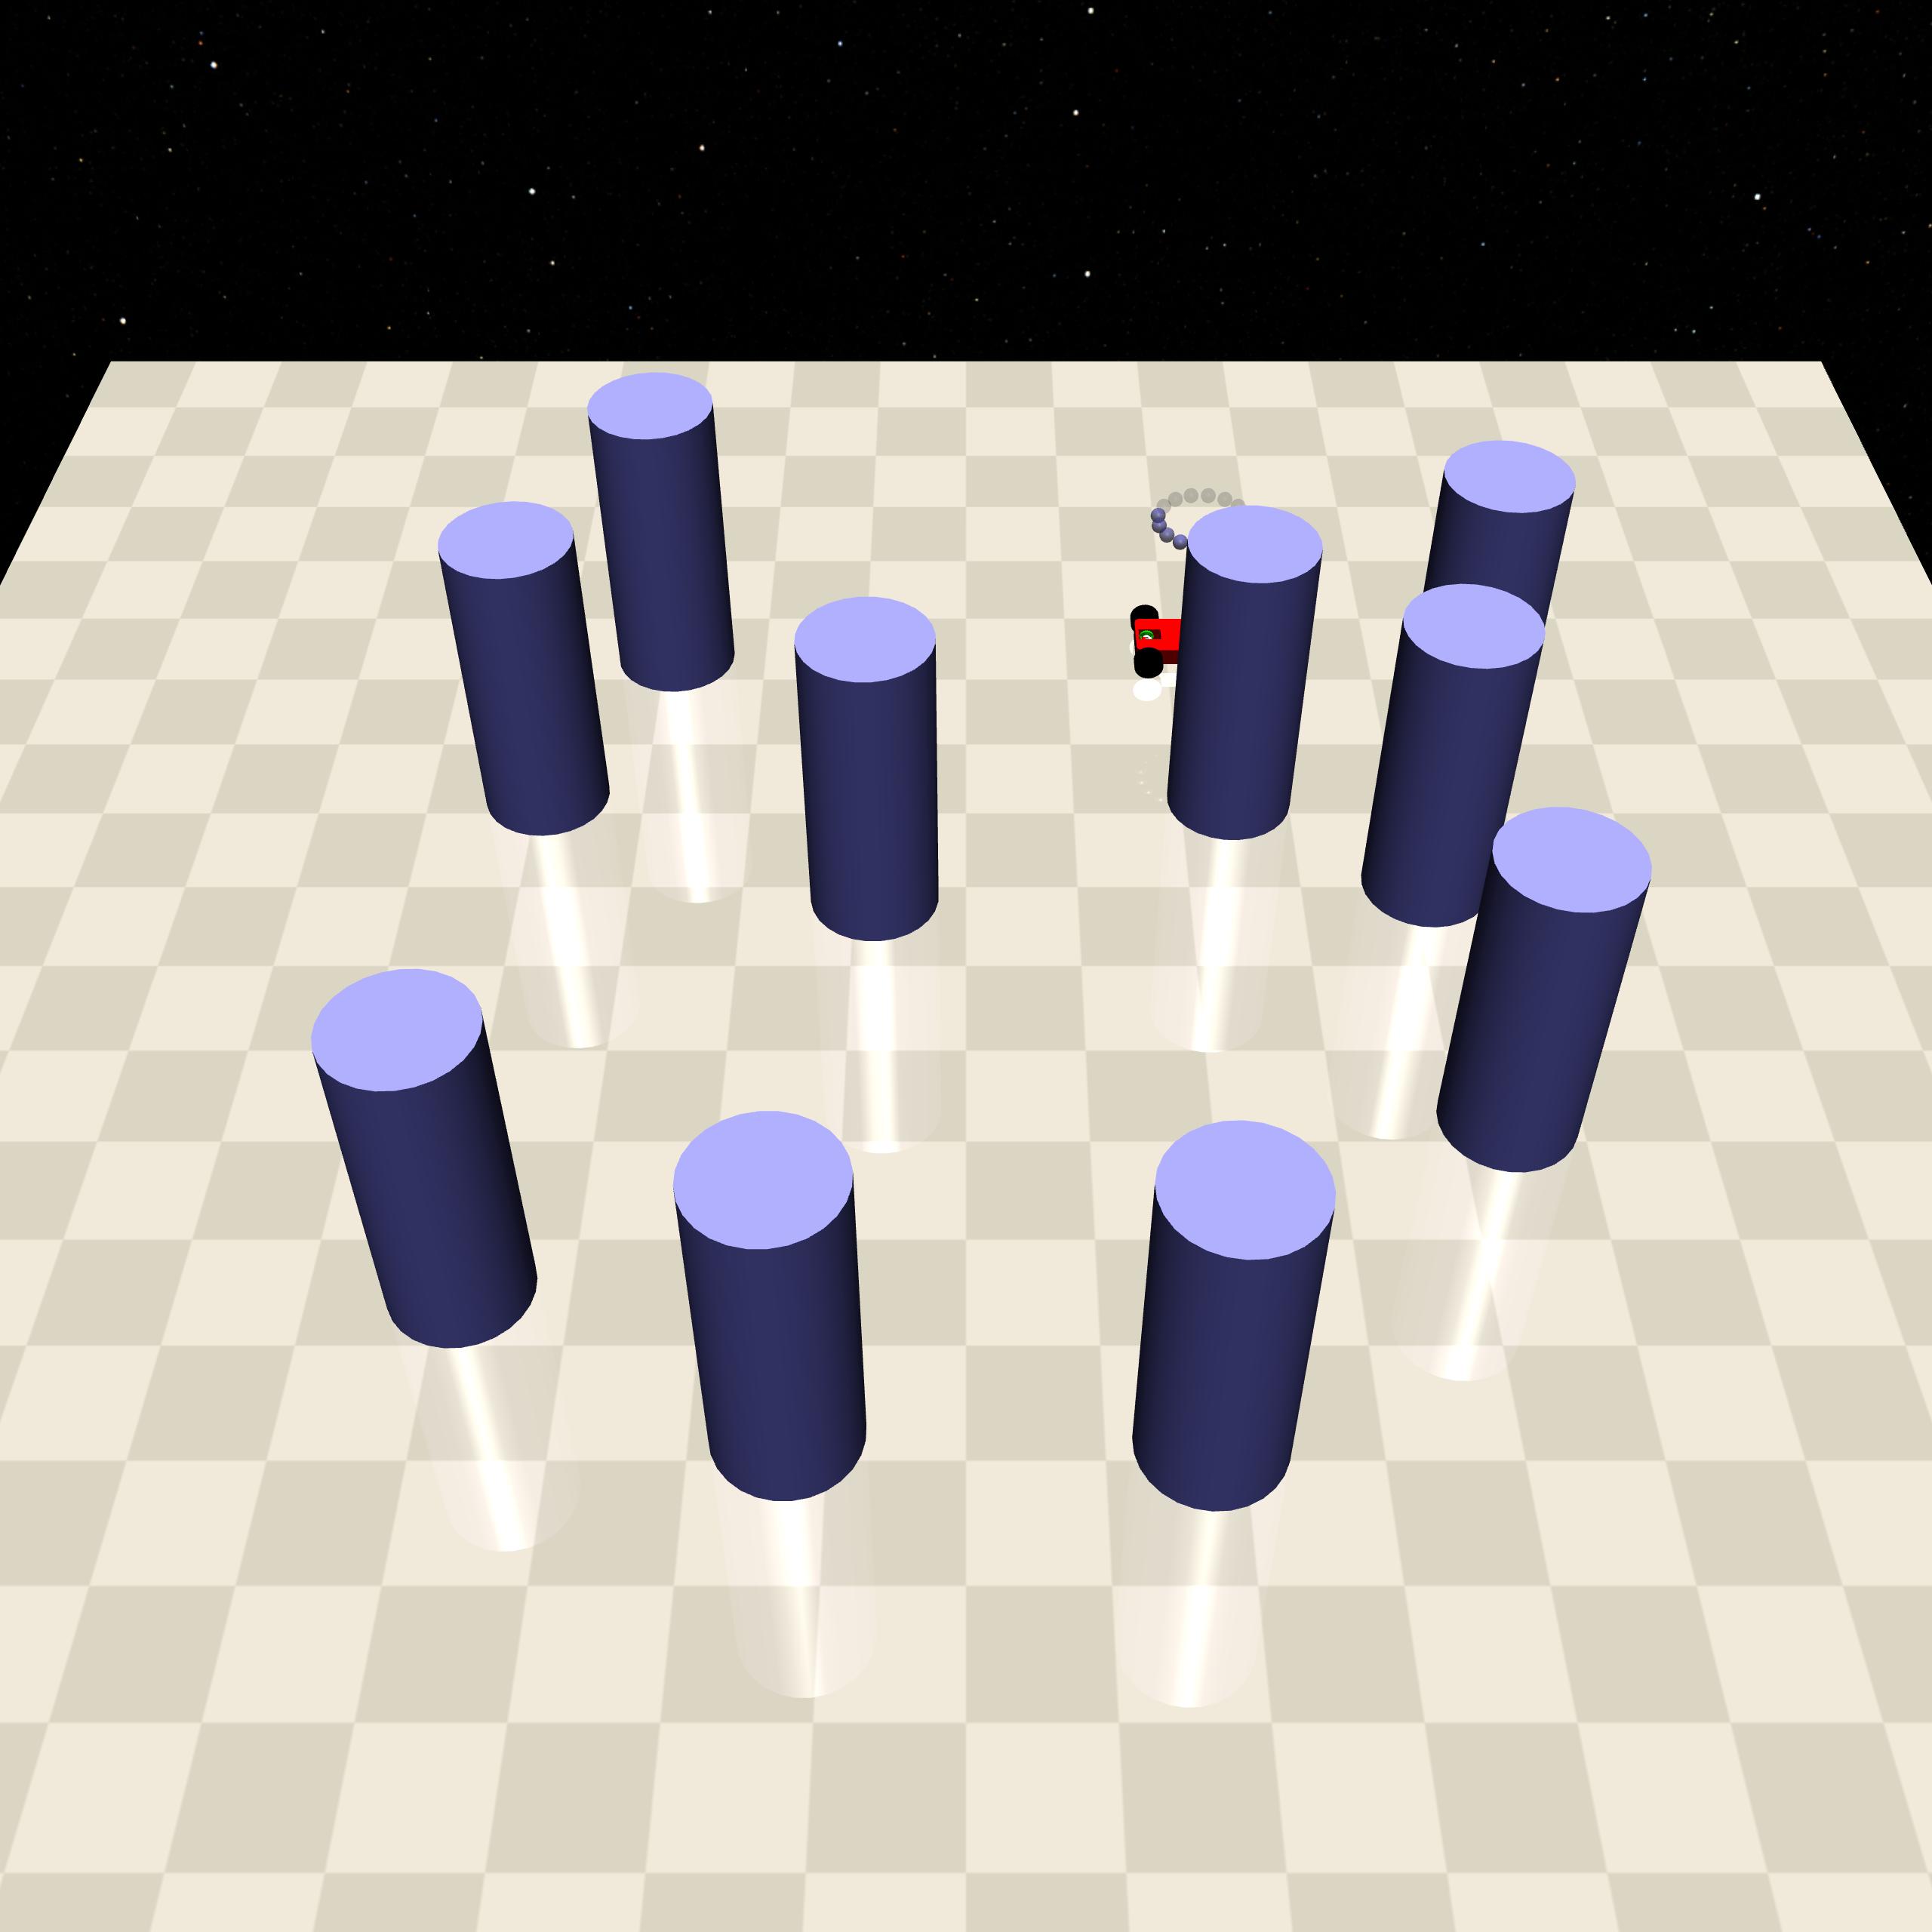
Geom is a static object in the environment that cannot change its position by contact or collision. It is used to model static objects that are fixed in reality.
FreeGeom refers to a movable static object in the environment, with which interaction may result in a cost, or which may need to be moved to complete a task. It is used to model realistic static objects that can be moved.
Mocap refers to objects in the environment that move autonomously according to a certain pattern, with which interaction may produce cost, and can also influence the way they move through physical interaction. It is used to model realistic controlled moving objects.
Note
Some objects in the environment have one and only one instance, while others can have more than one. This is distinguished by the singular and plural forms of naming, e.g., Vases, which means that the object can have more than one instance, and Goal, which means that the object has one and only one instance.
There are differences in the characteristics of objects in the environment, e.g., some objects can participate in the calculation of cost, and some do not collide with entities. We will give hints in the following section.
All objects that can participate in the cost calculation may not become constraints depending on the difficulty of the task, e.g., collision vases in Goal1 do not generate costs.
You can define or change the cost formula , quantity , position , collision property , density , movement paradigm , etc. of the object as needed to explore the performance of the RL algorithm in different situations.
General parameters#
Each object has custom parameters and methods needed to interact with the environment.
By changing the values of these parameters for existing objects, the behavior of the environment can be changed to individualize the testing algorithm.
The ideal object characteristics can be achieved by defining a new set of parameters and interactions under the protocol we provide. This process includes definition of parameters and implementation of methods.
@dataclass
class Example(Geoms):

    name: str  # The name of the object, which is the lowercase of the class name.
    num: int  # Number of objects. If it is a unique object, there is no such property.
    size: float = 0.3  # The size of an object, depending on the specific shape, may be determined jointly by several customizable member variables.
    # The area where the object position is randomly sampled, multiple areas can be specified from which uniform random sampling is performed.
    # Each region has the format (xmin, ymin, xmax, ymax), wrapped in list
    placements: list

    # Only two-dimensional coordinates can be filled in
    # Explicitly specify the first i positions of the object, i is the number of filled xy coordinates
    locations: list
    # Distance reserved for judging whether there is a conflict with the position of other objects when sampling coordinates
    # Typically set to the same size as the object radius
    keepout: float = 0.3  # Keepout radius when placing goals

    # Colors displayed in Simulator
    color: np.array = COLOR['apple']
    # Dividing groups to serve certain mechanisms, e.g., lidar.
    group: np.array = GROUP['apple']
    # Whether it is observed by lidar in the current environment
    is_lidar_observed: bool = True
    # Whether or not it is observed by the compass in the current environment, only objects with a constant number of one are supported.
    is_comp_observed: bool = False
    # Whether to participate in the constraint in the current environment.
    is_constrained: bool = False
Lidar Mechanism#
In Safety-Gymnasium, observations of objects are provided to the agent via lidar.
Note
This also means that for tasks in the Safe Navigation categories, all observations are local and do not contain global information about the environment, which we believe is closer to the observations available to robots in reality.
Natural lidar#
Natural lidar is implemented through an interface provided by Mujoco, which mechanically corresponds to the real Lidar.
Note
The return value for each lidar of the Natural Lidar is the distance of the currently detected object from the laser emission point, or -1 if no detection is made.
Pseudo lidar#
Pseudo lidar works by cycling through all objects of that category in the scene, determining if they are in range, and then populating the lidar observations for the corresponding location.
Both lidars are designed to target a specific class of targets and will ignore other classes of targets. For example, the Vases lidar can only detect Vases, while the Goal lidar can only detect Goals.
Note
In the lidar_conf data class of the class, if max_dist is specified, then Pseudo lidar will give the observation according to the following formula.
where \(O_i\) denotes the value of the ith lidar, \(D_i\) denotes the distance of the ith lidar, and \(D_{max}\) denotes the maximum detection distance of the lidar.
Otherwise, the values are given in terms of exponential decay as follows.
where \(\alpha\) is the decay factor.
Hint
In the lidar_conf data class of the task, the lidar category can be switched by modifying the lidar_type, but Natural lidar will be significantly more difficult.
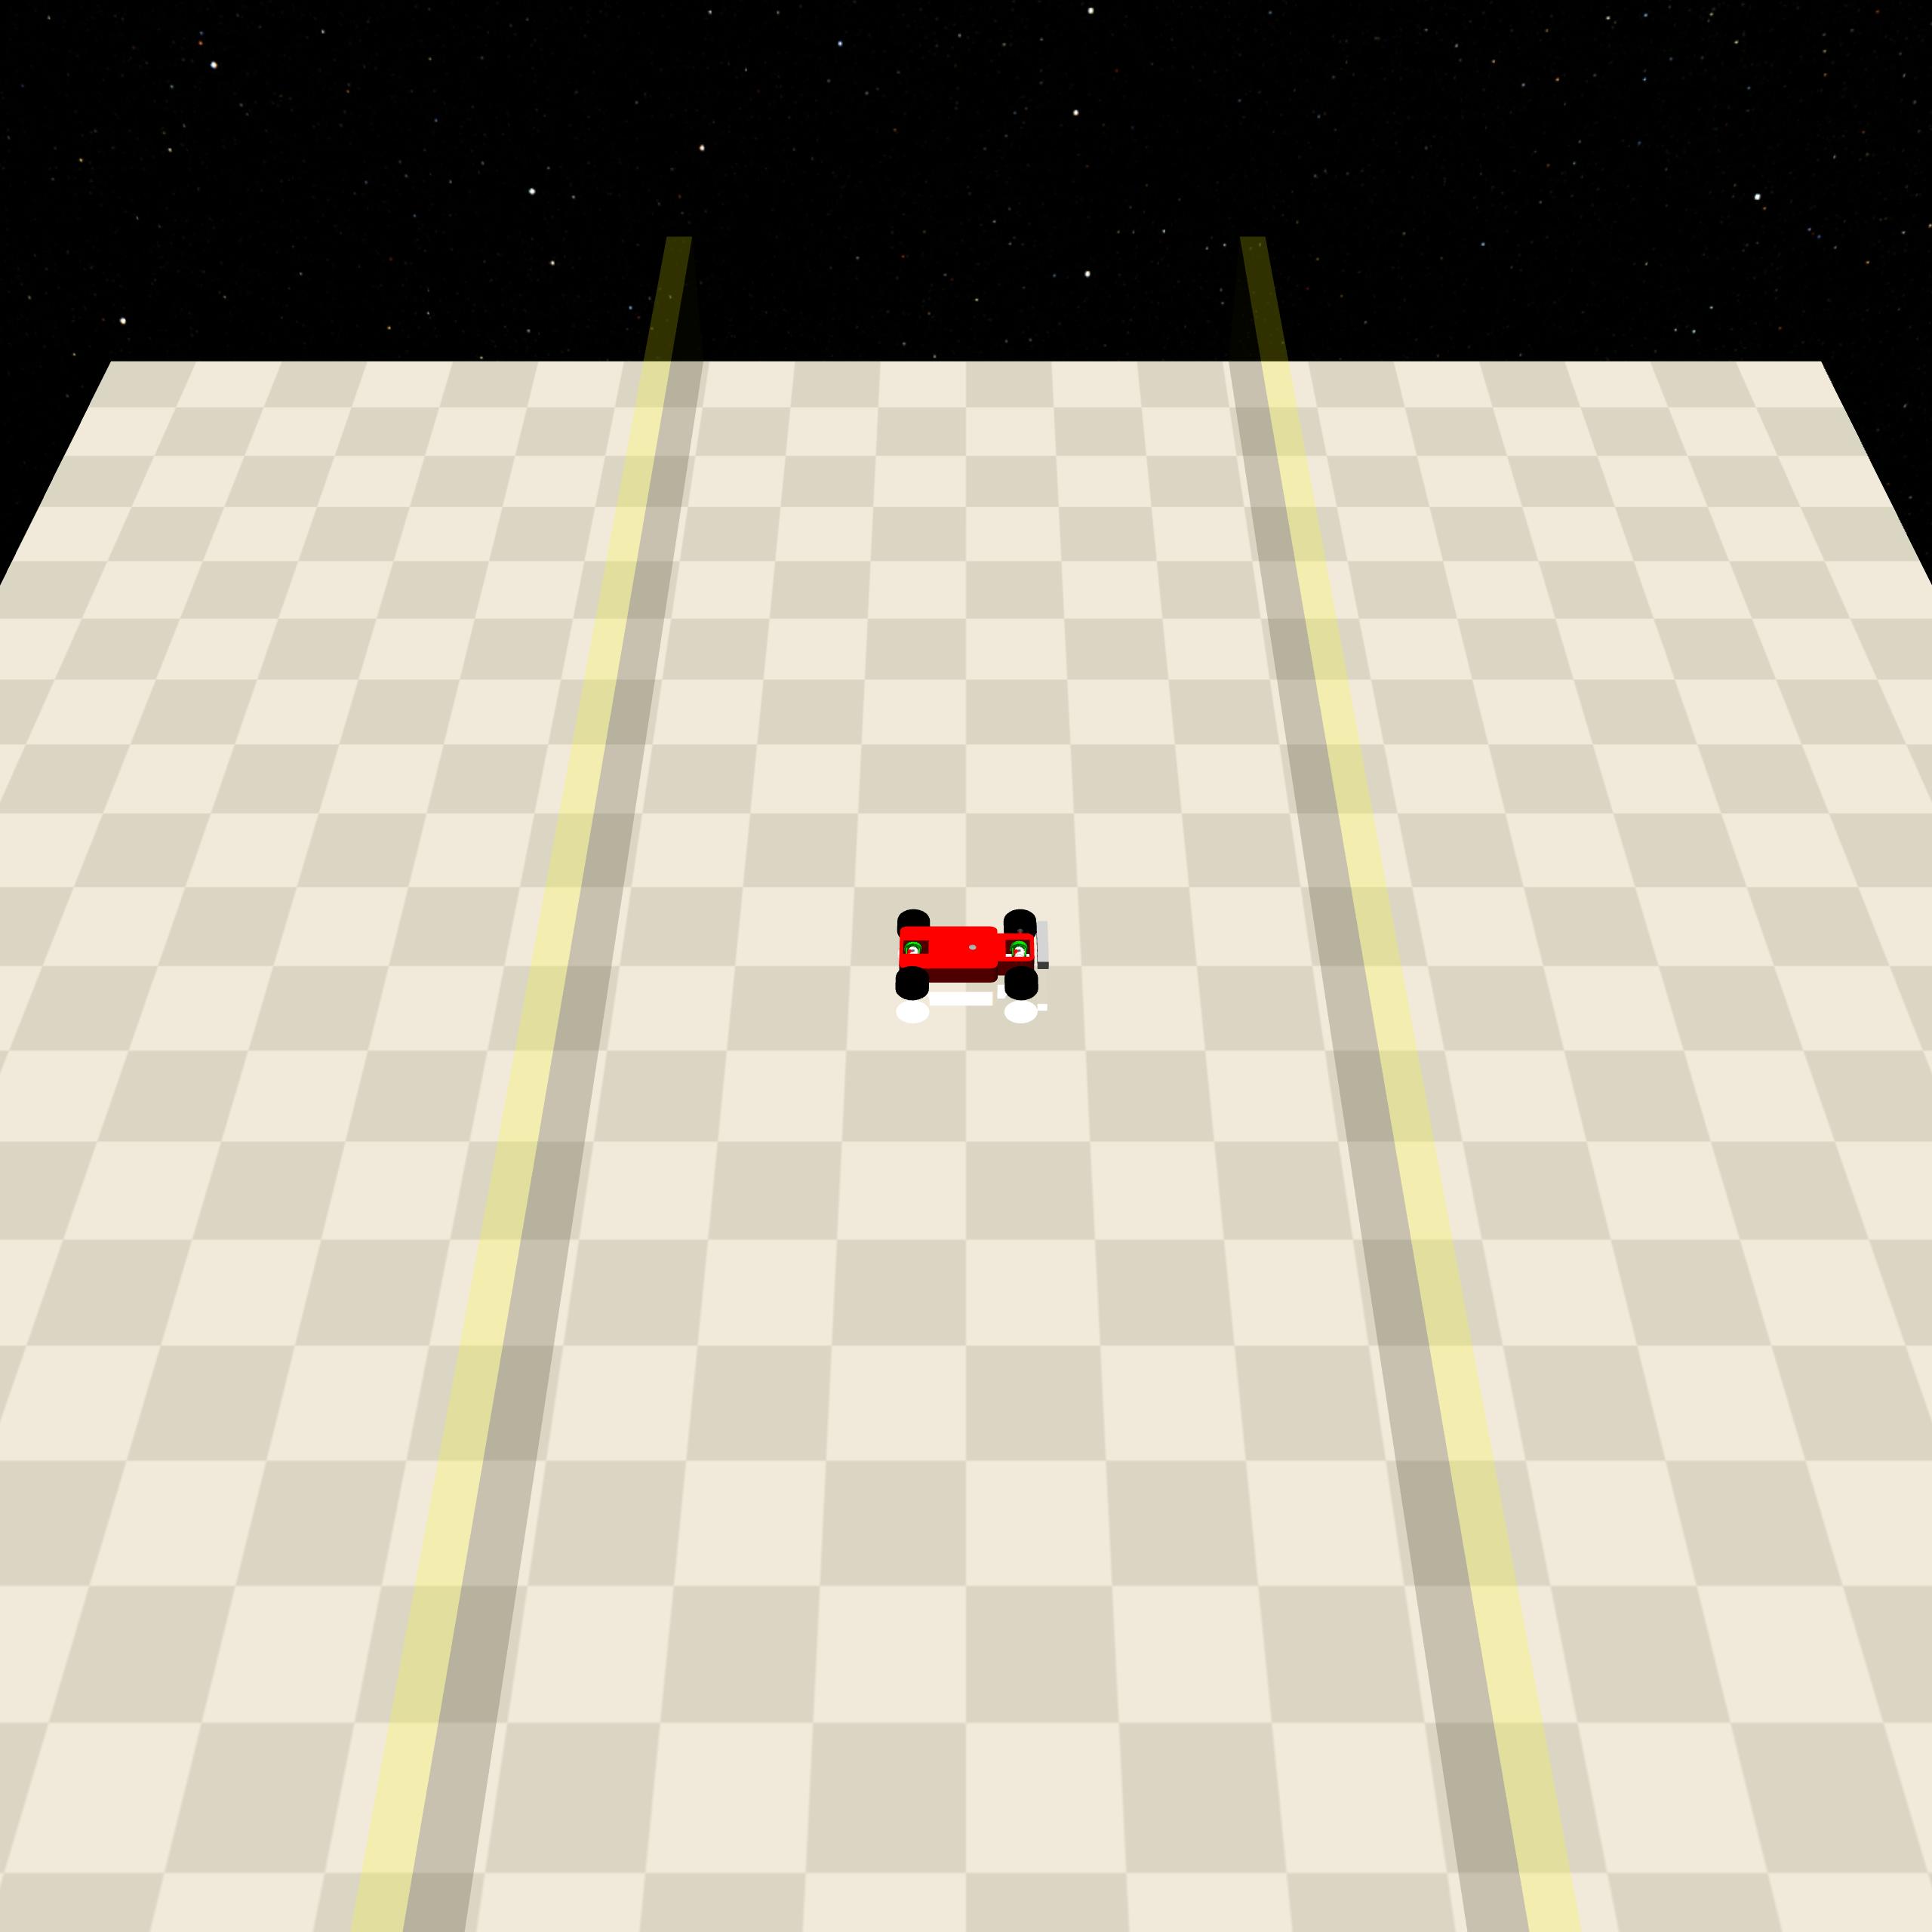
Group mechanism#
In the underlying implementation, we divide different objects into different groups, and each group is detected by a different lidar. For example: Buttons are not present for the lidar that detects Goal, and vice versa.
Note
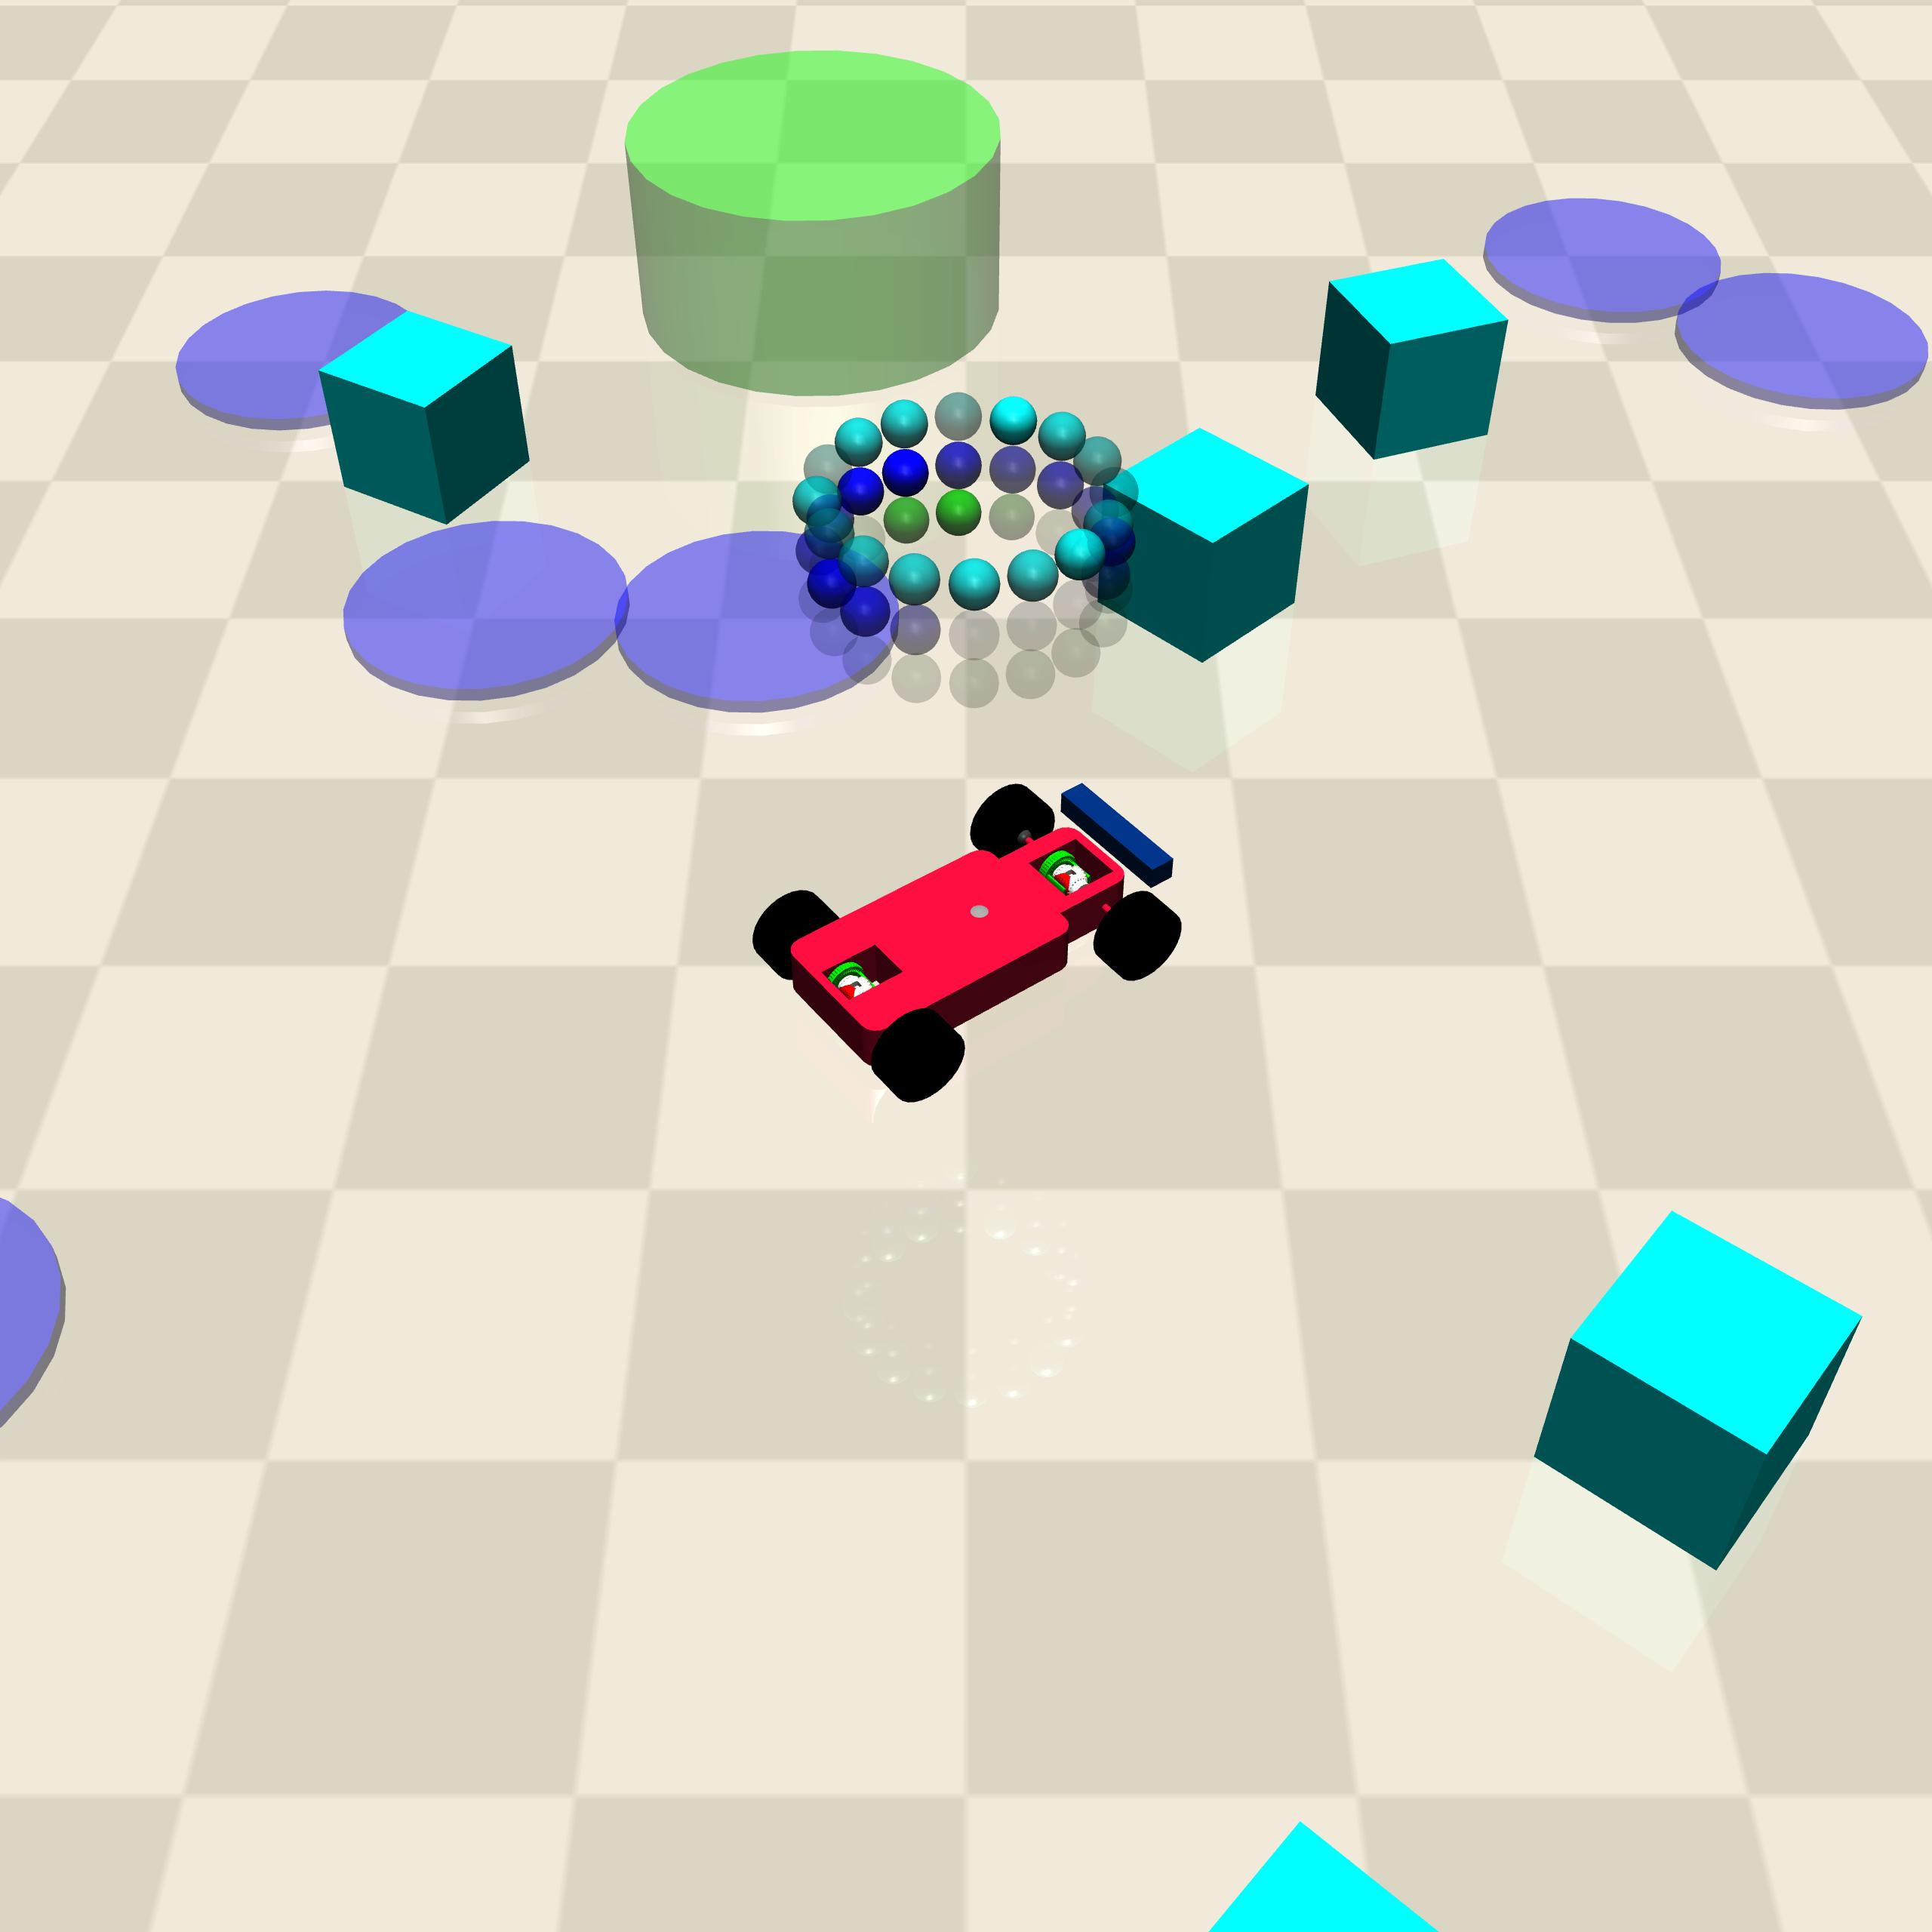
Such a mechanism is also reflected in the visualization.

|
|
It can be seen that as the variety of objects becomes larger, a corresponding number of lidars that do not interfere with each other are presented.
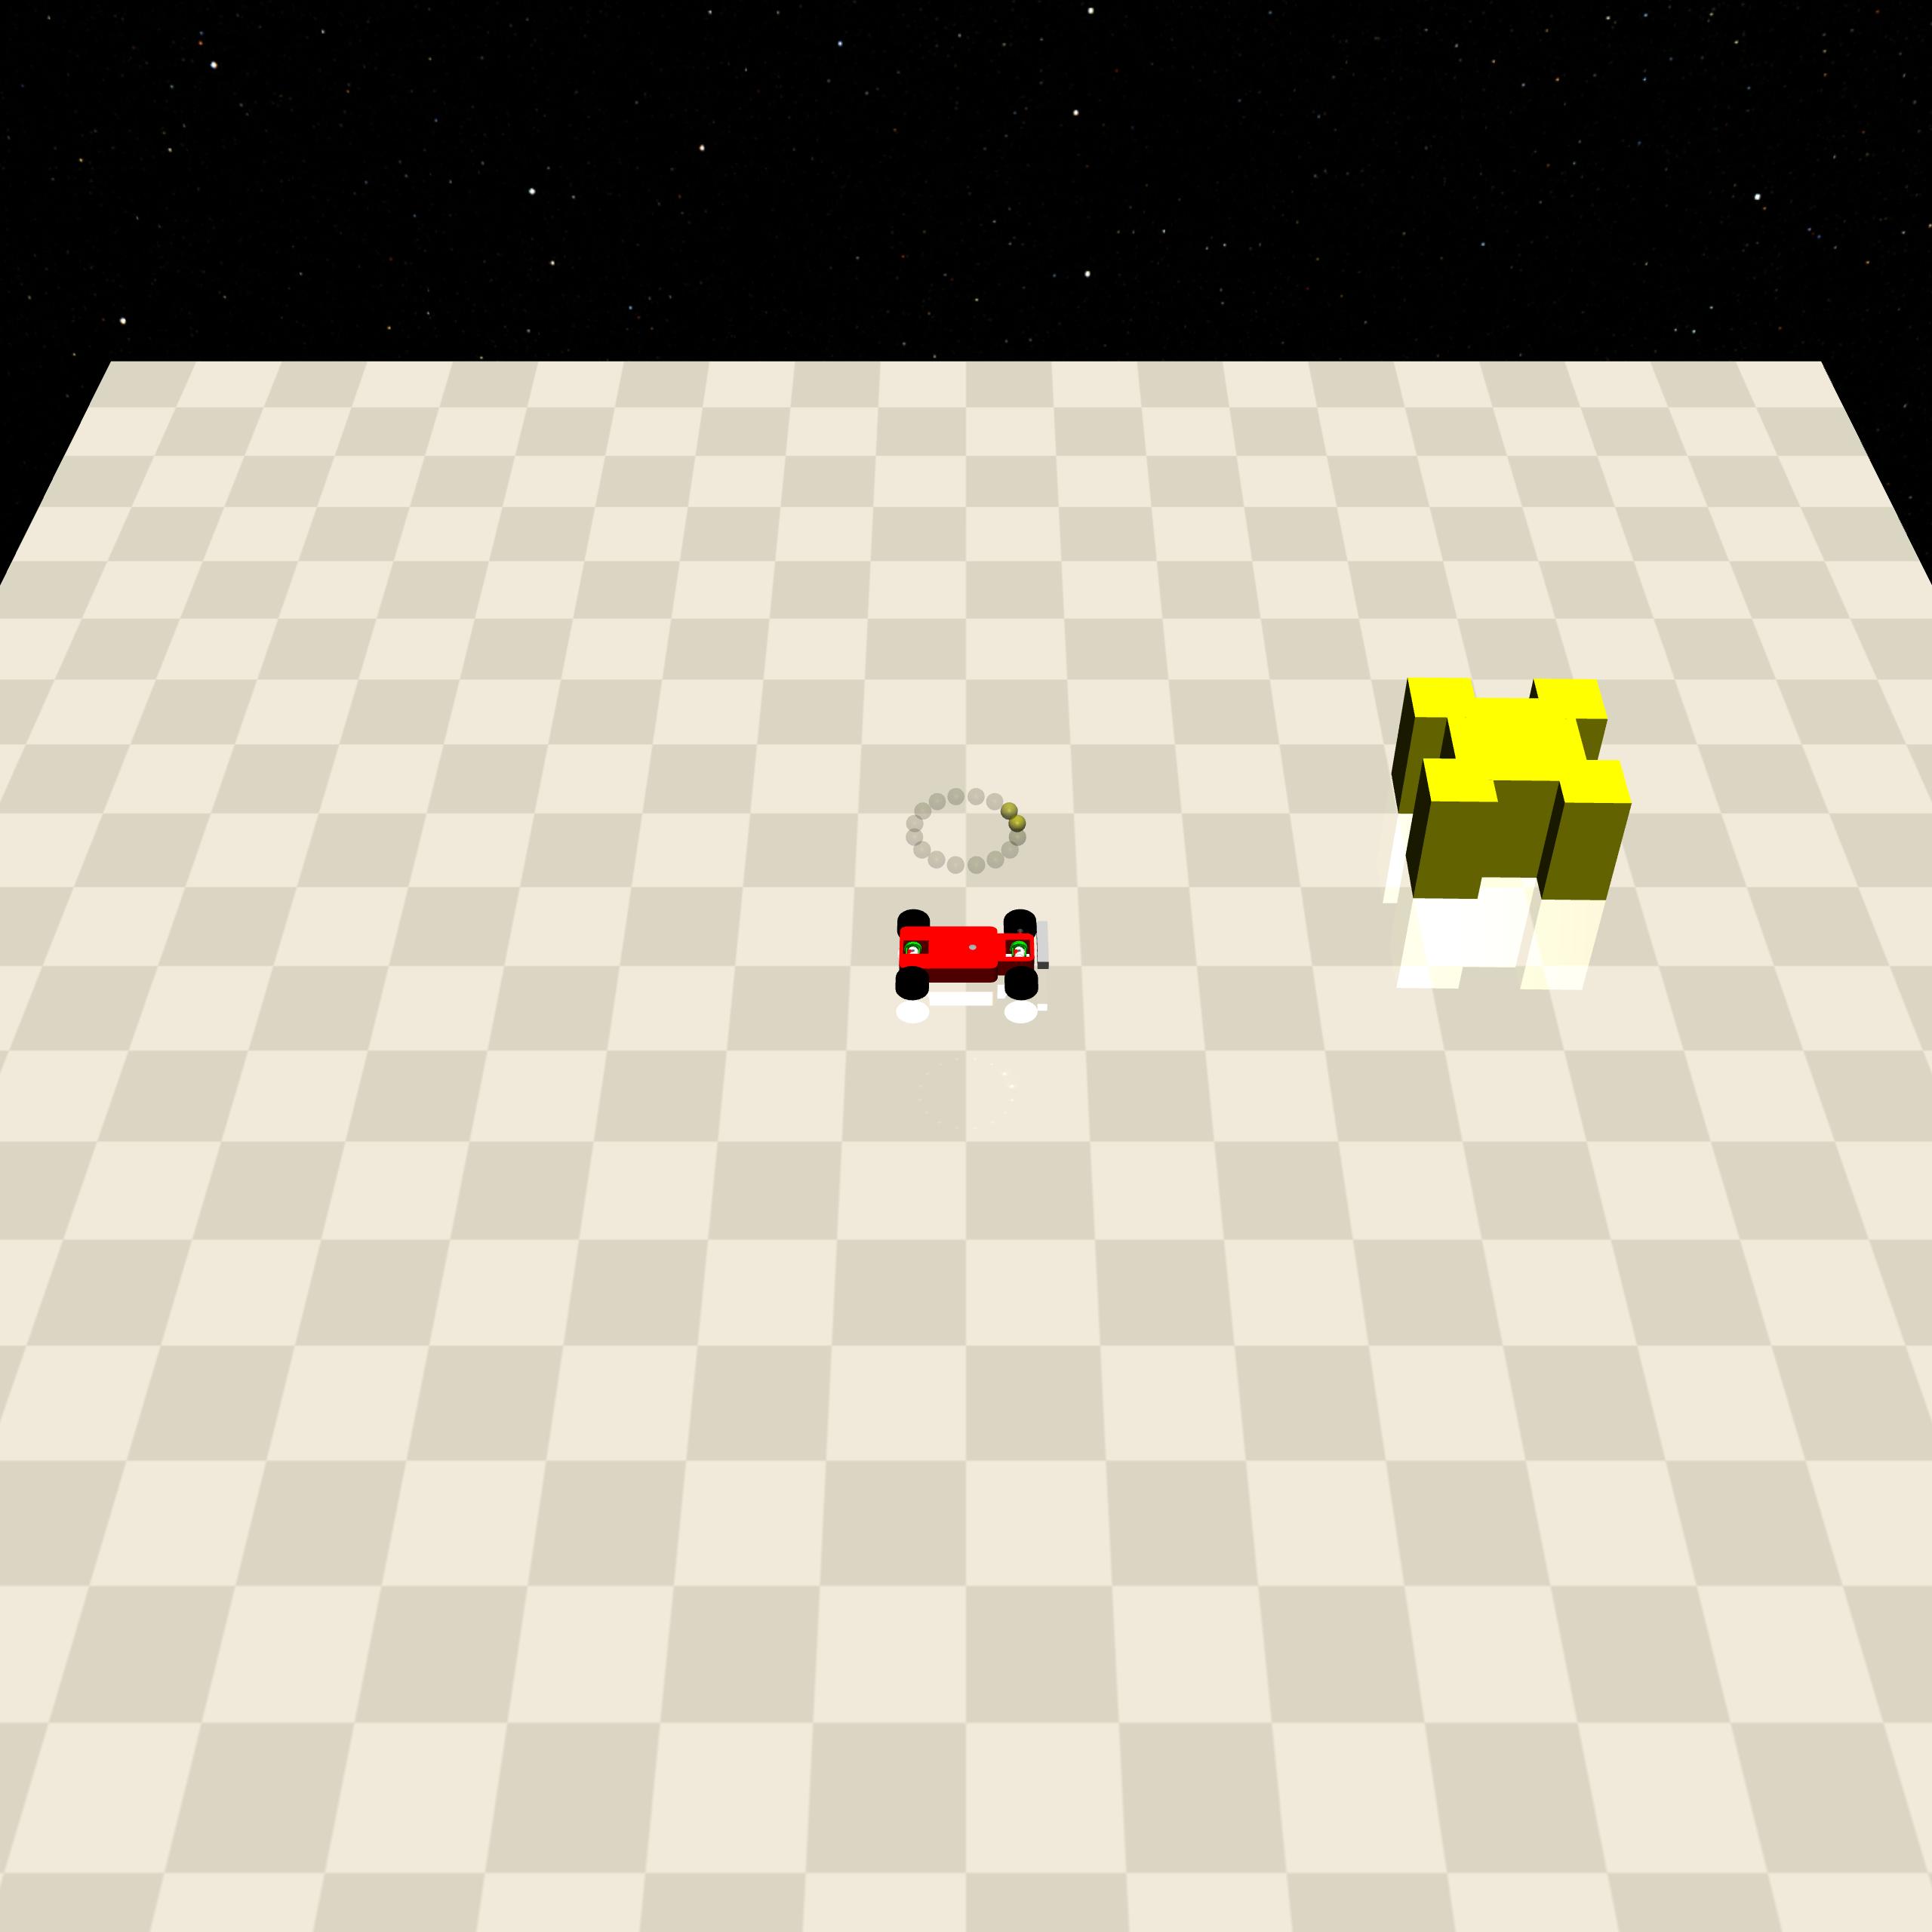
Render lidar#
The lidar will be visualized when rendered, corresponding to the small ball enclosed in a circle above the agent’s head, which lights up in the same color as the object. When the lidar at a location detects a target, it lights up, and the closer it is to the target, the brighter the color.
The following is a visualization of the lidar at different distances from the object.

far |

mid |
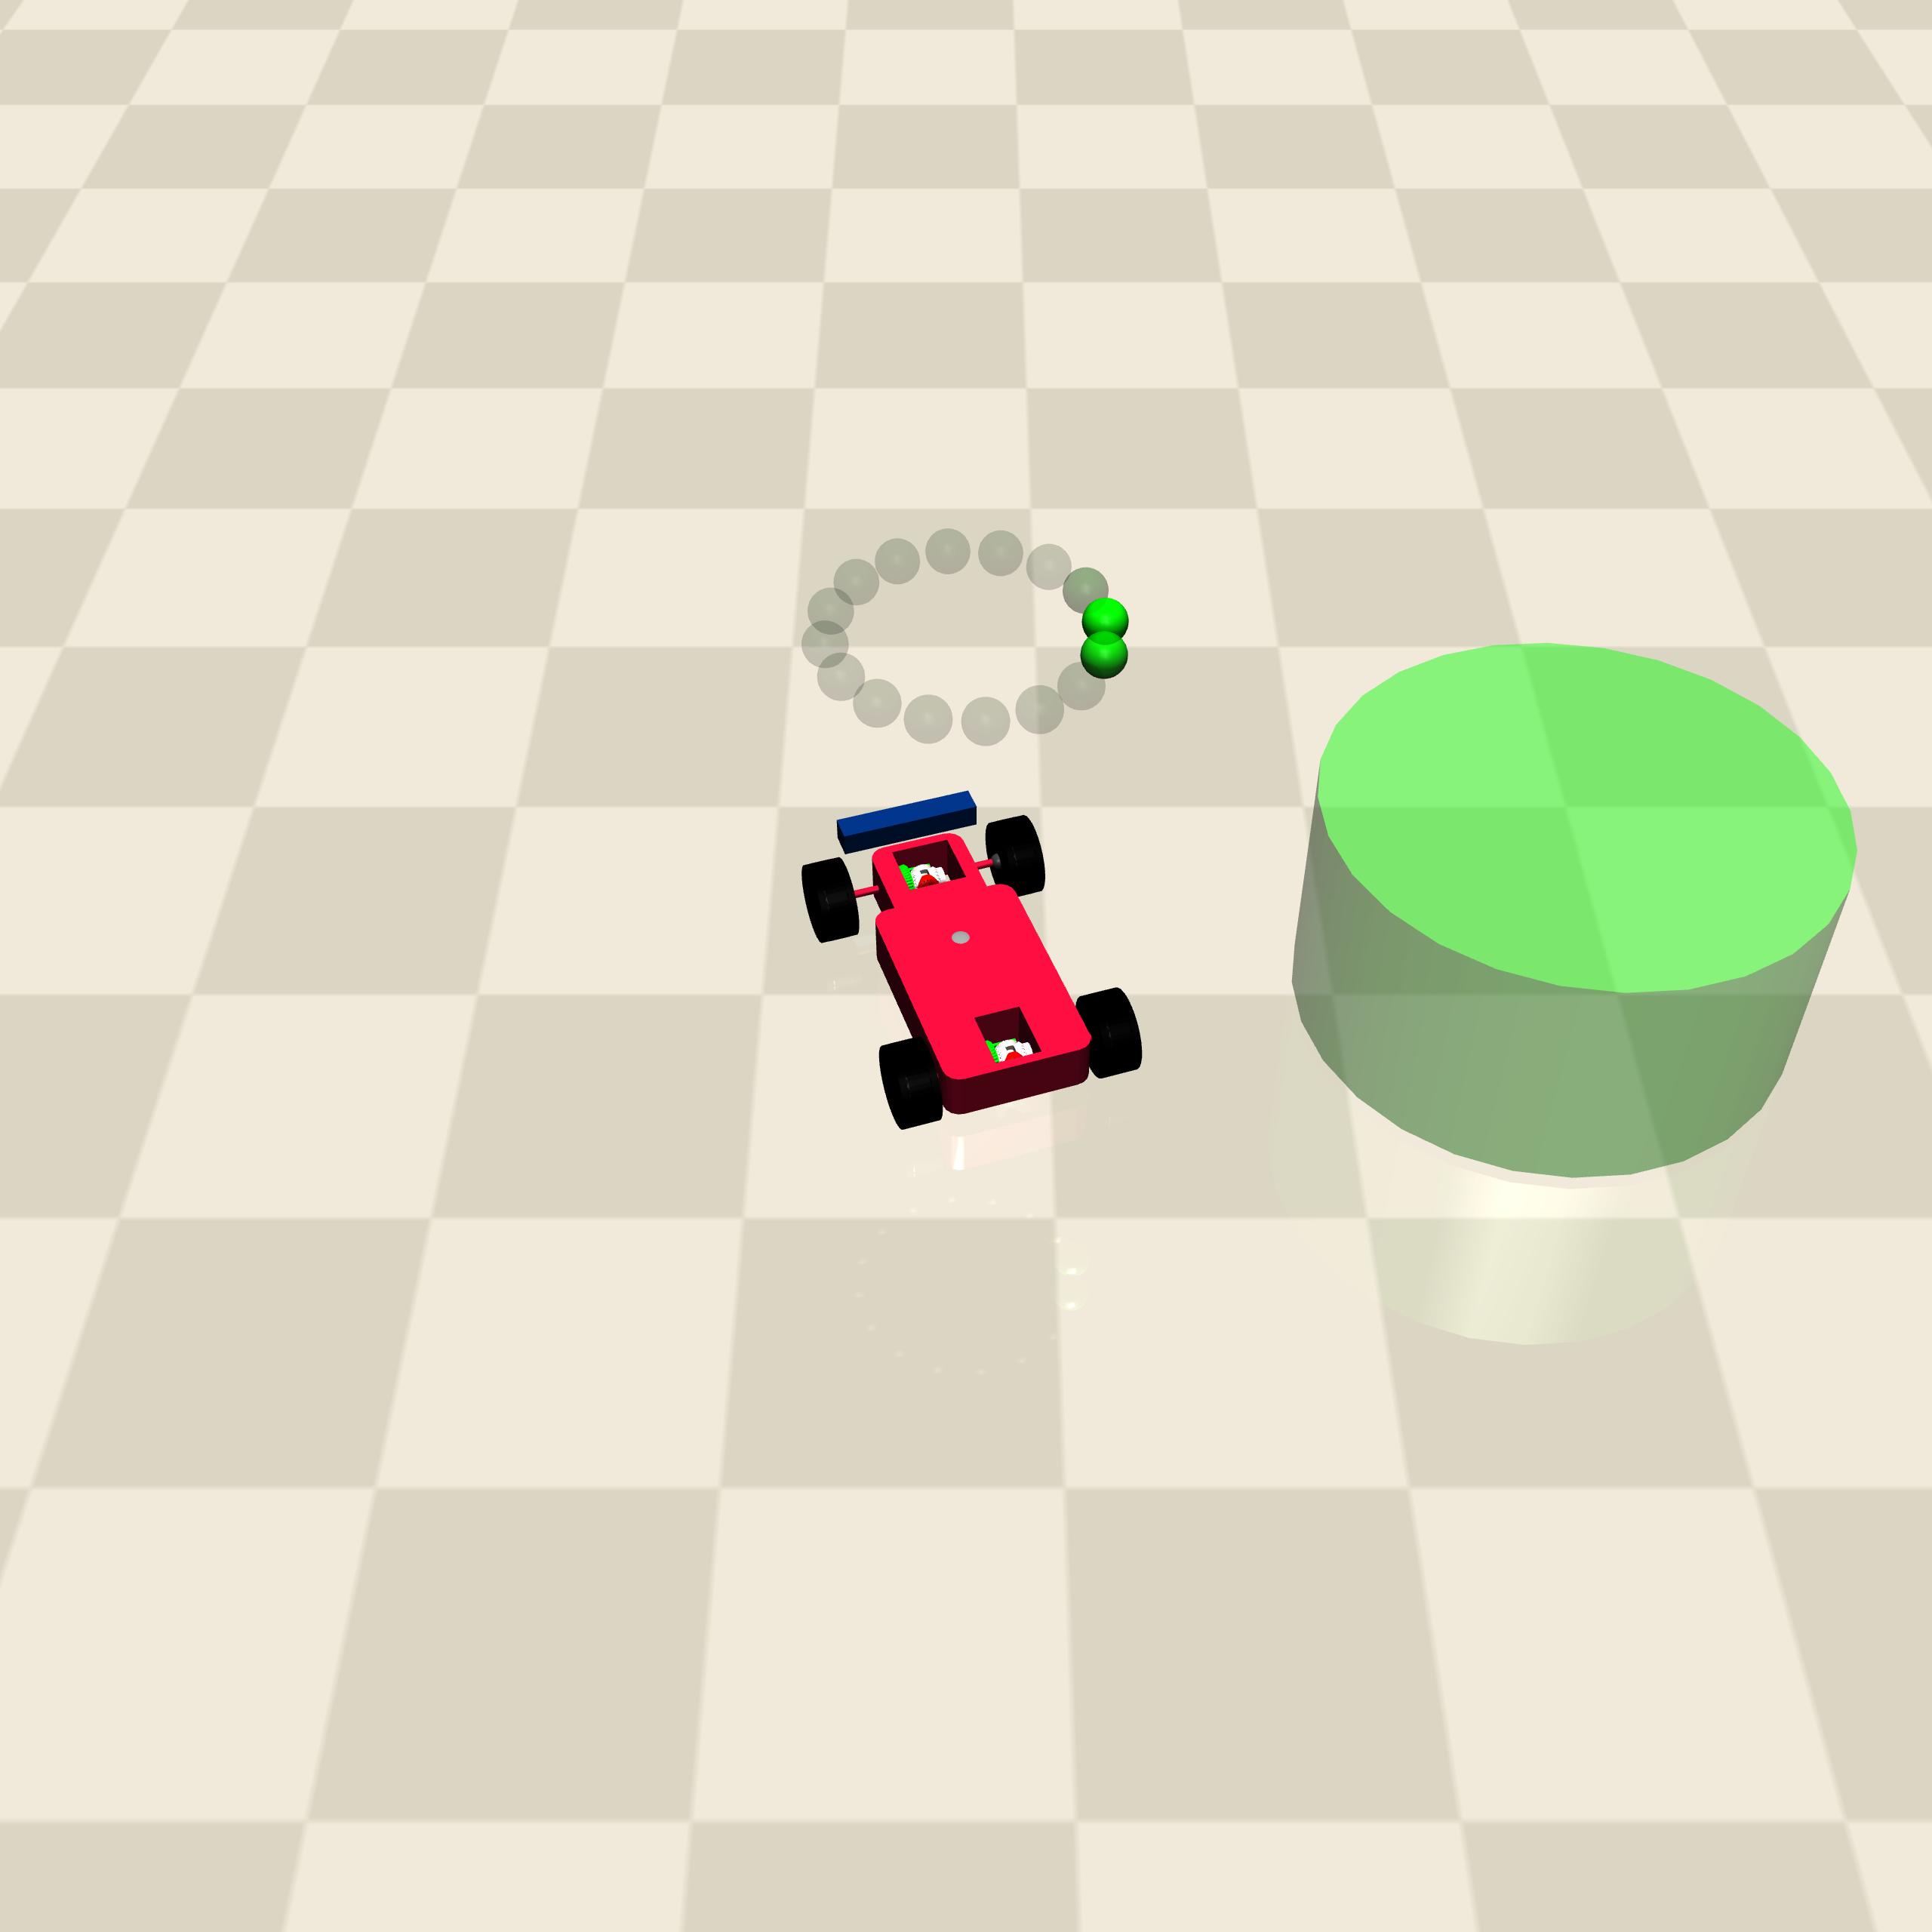
near |
Note
Lidar visualization markers are not physical and serve only the researcher.